Change Clock Style
In this tutorial, you will learn how to:
• Change the clock style from your watch
• Change the clock style from your connected smartphone
• Add and edit Tiles
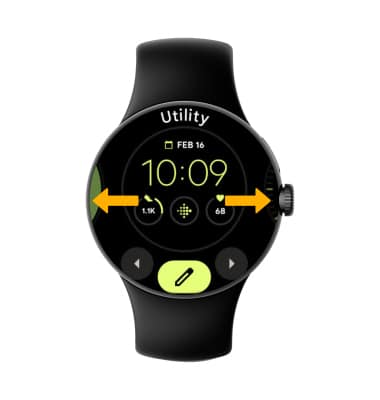
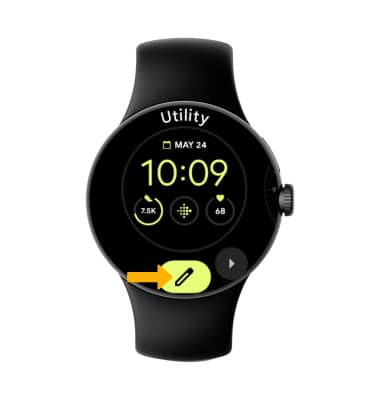
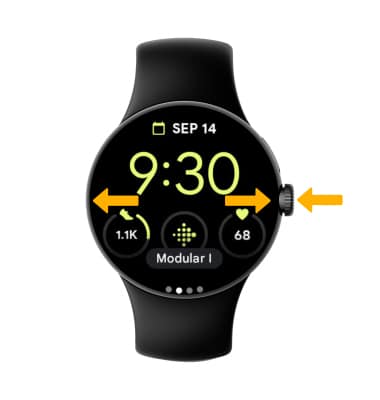
Change the clock style from your watch
Change the clock style from your connected smartphone
1. From your connected smartphone, navigate to and select the ![]() Google Watch app.
Google Watch app.
2. Select Watch faces, then swipe left or right to the desired option. 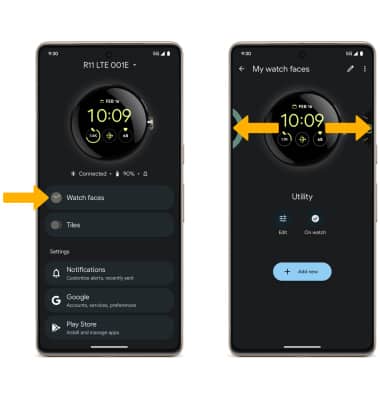
3. To customize, select Edit then select the desired option to customize the clock style. When finished, select Save.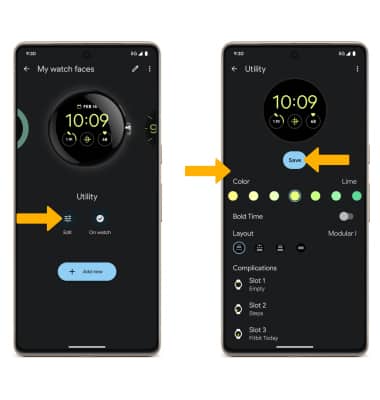
4. To add a new clock face, select Add new then navigate to and select the desired Watch face. 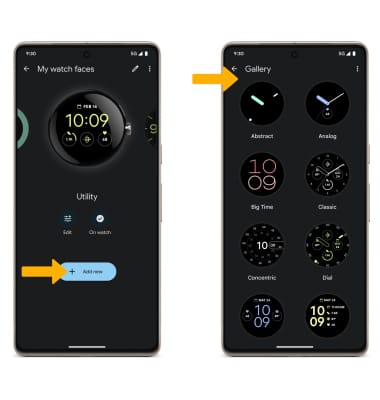
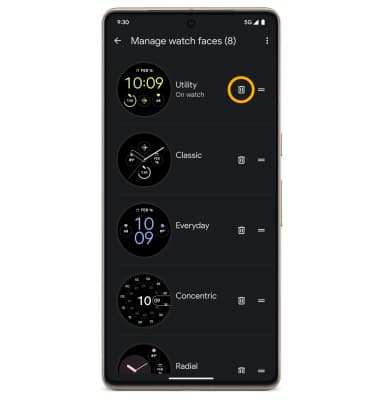
Delete a Watch face
To delete a Watch faces, from the My watch faces screen, select the ![]() Edit icon. Select the
Edit icon. Select the ![]() Delete icon next to the desired Watch face you wish to delete.
Delete icon next to the desired Watch face you wish to delete.
Note: To delete a Watch face from your Watch, select and hold the center of the screen > swipe left or right to the desired watch face > swipe up to delete.
Add and edit Tiles from your connected smartphone
1. From your connected smartphone, navigate to and select the ![]() Google Watch app.
Google Watch app.
2. Select Tiles, then select and drag the Order icon to the desired location. Select the Back arrow when finished.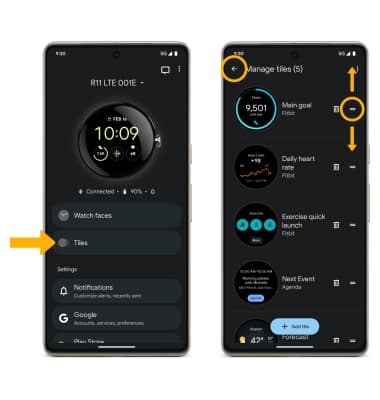
3. To Add a Tile, select Add tile then navigate to and select the desired tile. 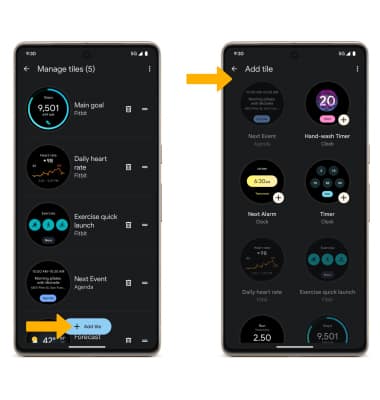
4. To delete a tile, from the Manage tile screen, select the Delete icon next the tile you wish to delete.