In this tutorial, you will learn how to:
• Access Camera
• Switch between front and rear camera
• Focus the camera
• Zoom in and out
• Take a photo
• Record a video
For more information about camera settings that are available such as Flash, Timer, Filters, and camera modes visit the Camera and Video Settings tutorial. To learn more about new camera features that are available with such as Portrait lighting control, High-Key Mono, and how to access the re-designed editing features visit the Advanced Photo & Video Features tutorial.
Access Camera
From the home screen, select the ![]() Camera app.
Camera app.
You can also access the Camera app from the Lock screen. From the lock screen, swipe left.
Note: When you open Camera from the Lock screen, you can view (and even edit) photos and videos by selecting the thumbnail at the lower-left corner of the screen. To share photos and videos, first unlock your iPad.
Switch between front and rear camera
Select the ![]() Switch Camera icon.
Switch Camera icon.
Note: You cannot switch the camera while you are recording a video.
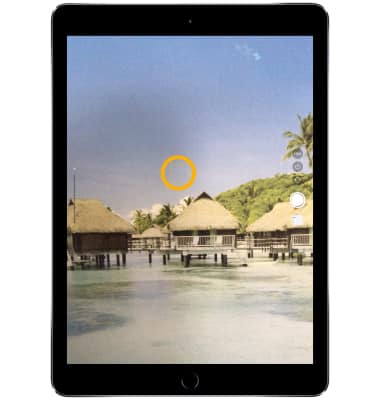
Focus the camera
Touch the desired area of the photo you wish to focus on. A box will appear around the area selected.
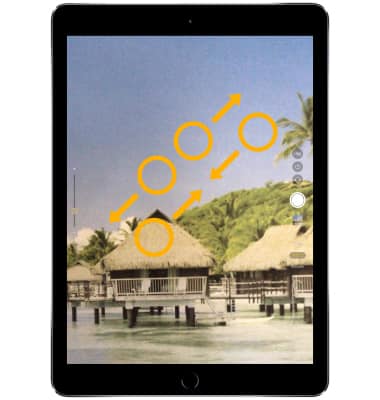
Zoom in and out
Drag two fingers from the middle of the screen toward the outer edges of the screen to zoom in. Pinch two fingers from the outer edges of the screen to the middle of the screen to zoom out.
Note: Alternately, you can zoom in and out by selecting and dragging the Zoom slider on the left side of the screen.
Take a photo
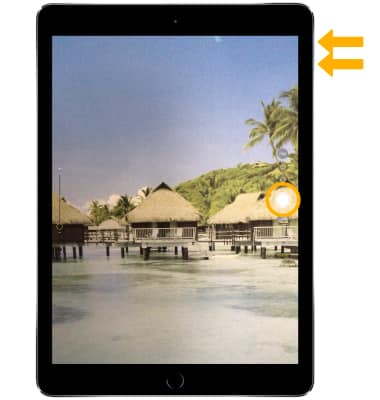
Select the Capture icon or press either Volume button.
Note: Live Photos is enabled by default. Live photos record what happens 1.5 seconds before and after you take a picture. To disable Live photos, from the Camera app, select the Live Photos icon. To delete a picture, from the Photos app select the desired photo then select the ![]() Delete icon. Select Delete Photo to confirm. If you are you having trouble taking pictures or video on iPad, click here.
Delete icon. Select Delete Photo to confirm. If you are you having trouble taking pictures or video on iPad, click here.
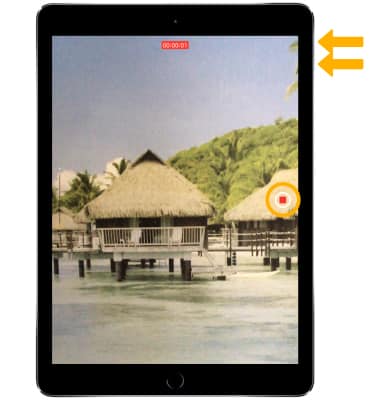
Record a video
1. Swipe up or down to Video mode, then select the Record icon to start recording.
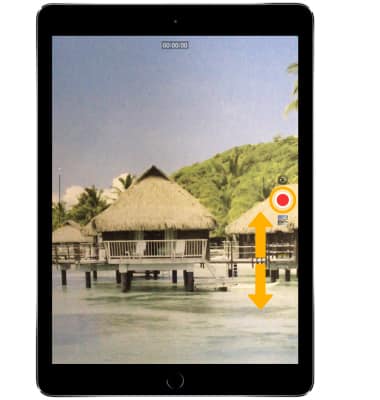
2. To stop a recording, select the Stop icon or press either Volume button. 