")
In this tutorial, you will learn how to:
• Connect your Chromebook with your phone
• Set up messages
• Access messages
• Compose & send a message
• Read & respond to a new message
• Delete a message
Connect your Chromebook with your phone
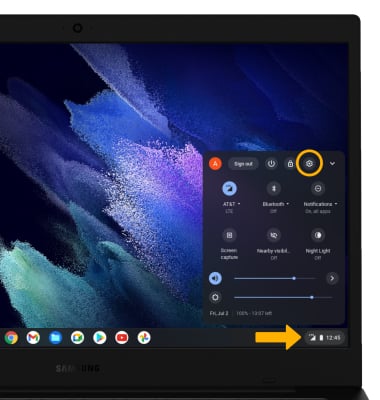
1. From the home screen, click the Quick settings panel then click the Settings icon.
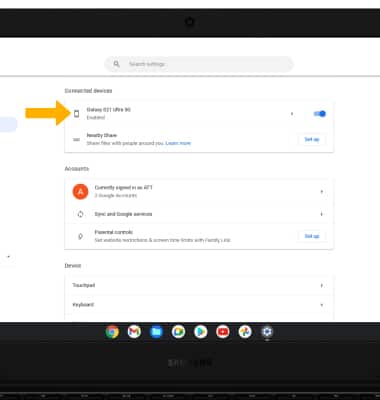
2. Click the Connected devices tab, then click Set up next to Android phone.

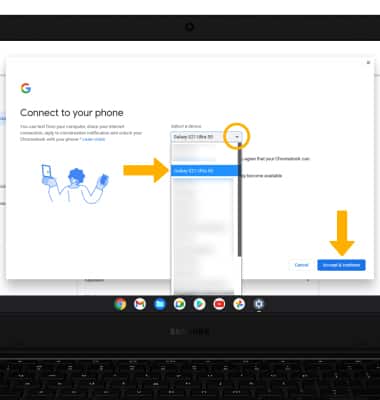
3. Click the drop-down arrow, then click the desired phone. Click Accept & Continue.
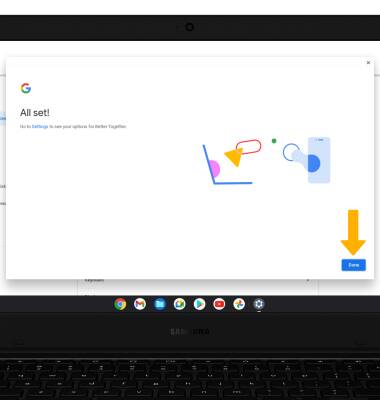
4. Enter the password associated with your Google account then click Done.
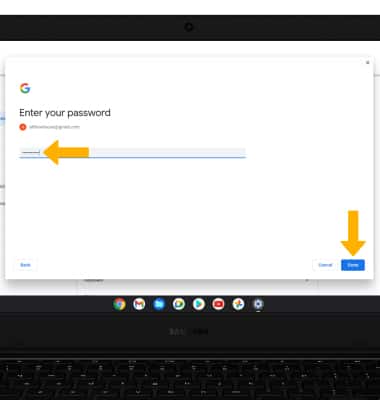
5. Click Done.
2. Click the Connected devices tab, then click Set up next to Android phone.
3. Click the drop-down arrow, then click the desired phone. Click Accept & Continue.
4. Enter the password associated with your Google account then click Done.
5. Click Done.
Set up messages
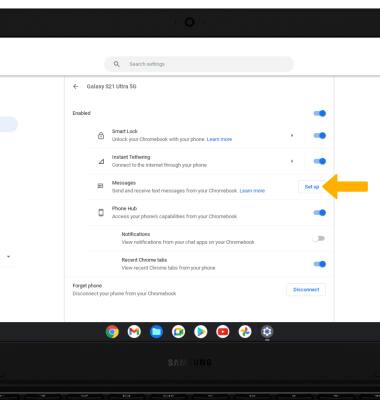
1. From the Connected devices tab in Settings, click your device name.
2. Click Set up next to Messages.
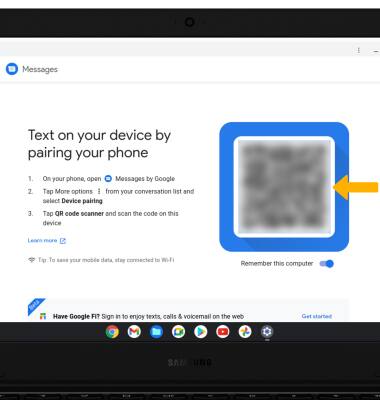
3. Scan the QR code using your Samsung phone. Your messages will automatically sync.
Note: To access the QR code scanner, from your Samsung phone, select the Messages app by Google > Menu icon > Messages for web > QR code scanner. Point the phone at you Chromebook so that the QR code on screen appears in the window on your phone. The devices will connect automatically. If your device does not have the Messages app by Google pre-installed, see the Download Apps & Games tutorial for further instruction on how to download.
2. Click Set up next to Messages.
3. Scan the QR code using your Samsung phone. Your messages will automatically sync.
Note: To access the QR code scanner, from your Samsung phone, select the Messages app by Google >
Access messages
1. From the home screen, click the Launcher icon then click the Expand icon.
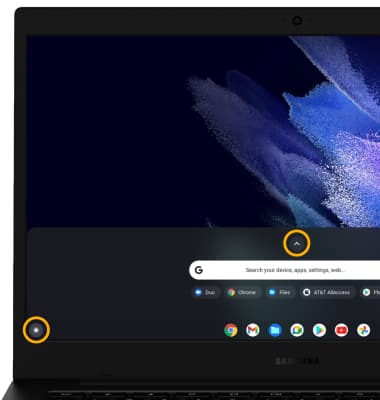
2. Click the Messages app.
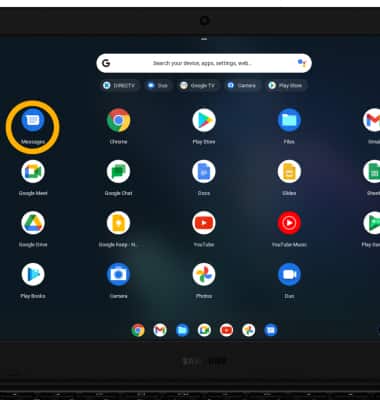
2. Click the Messages app.
Compose & send a message
1. From the Messages app, click Start chat then enter the desired contact or phone number.
Note: To create a group message, click Add more people > enter the desired contact(s) > click Next.
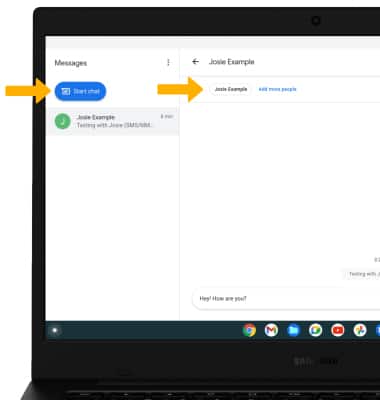
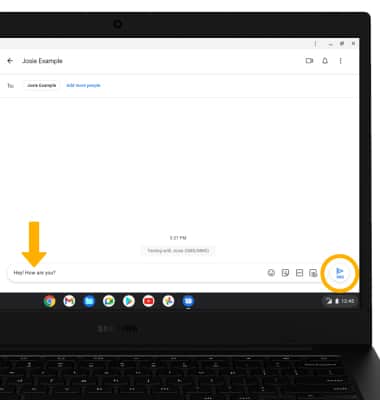
2. Compose and send a message using the following options as desired:
Note: To create a group message, click Add more people > enter the desired contact(s) > click Next.
2. Compose and send a message using the following options as desired:

• ENTER MESSAGE: Click the 'Text message' field, then enter the desired message.
• ADD ATTACHMENT: Click the Attachment icon and follow the prompts to add an attachment.
• SEND A MESSAGE: When finished composing a message, select the Send icon to send the message.
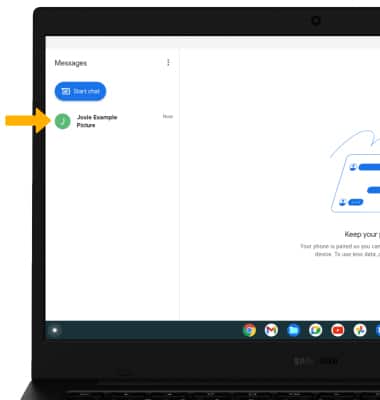
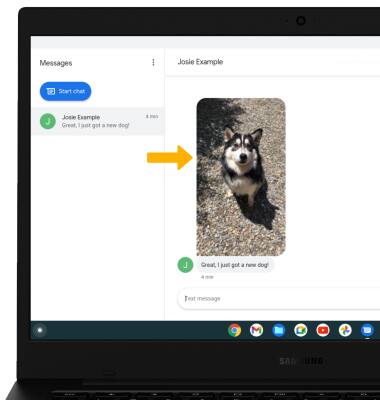
Read & respond to a new message
From the Messages app, click the desired message thread.
VIEW AN ATTACHMENT: To view an attachment, click the desired attachment.
Note: To save an attachment, click the desired attachment then click the Download icon. By default, attachments will be saved to the Downloads folder in the Files app. To view saved attachments, from the home screen click the
  Files app > Downloads tab.
RESPOND TO A MESSAGE: Enter the desired message in the 'Text message' field, then click the Send icon.
VIEW AN ATTACHMENT: To view an attachment, click the desired attachment.
Note: To save an attachment, click the desired attachment then click the
RESPOND TO A MESSAGE: Enter the desired message in the 'Text message' field, then click the Send icon.
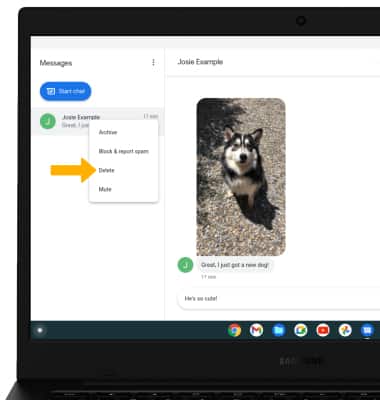
Delete a message thread
From the Messages screen, hover your mouse over the desired message thread then click the ![]() Menu icon. Click Delete.
Menu icon. Click Delete.
Note: You will be prompted to click Delete to confirm.