Software Version
In this tutorial, you will learn how to:
• View software version
• Check for software updates
View software version
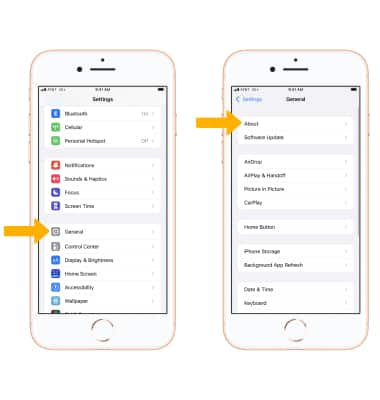
1. From the home screen, select the ![]() Settings app.
Settings app.
Note: The images and steps in this tutorial reflect the latest software version (iOS 15). For more information on the latest update available for your device, check att.com/softwareupdates.
2. Scroll to and select General, then select About.
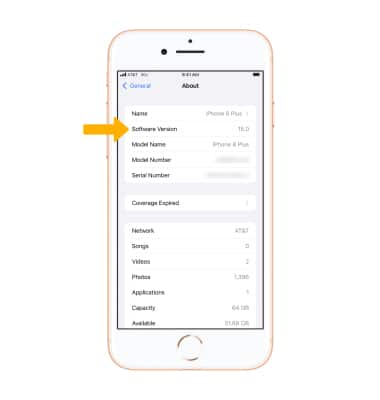
3. Software Version will be displayed.
Check for software updates
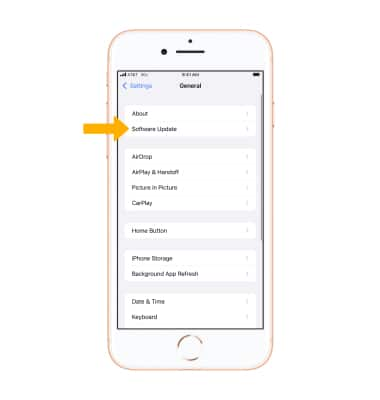
1. From the General screen, select Software Update.
Note: Your device must be plugged in to a power source in order to update wirelessly. Before you update, back up your device to iCloud or Finder. Updates may download automatically while your device is connected to Wi-Fi and a power source. If an update is available, select Download and Install and follow the prompts. If you use a passcode, you'll need to enter it before installing the update. To turn automatic software updates on or off, select Automatic Updates then select the ![]() Download iOS Updates switch or
Download iOS Updates switch or ![]() Install iOS Updates switch as desired.
Install iOS Updates switch as desired.
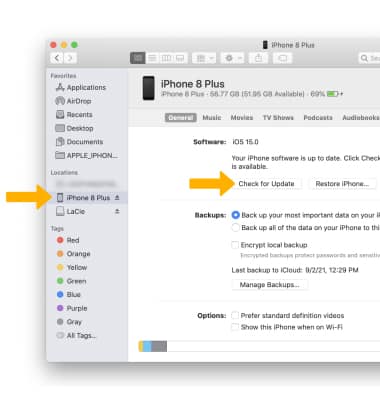
3. If you can’t update wirelessly or if you want to update with Finder, connect the device to the computer using the included Lightning-to-USB cable.
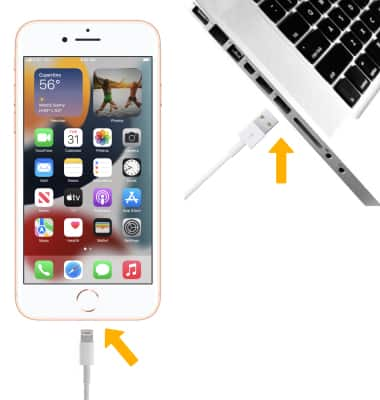
4. Open  Finder on your computer.
5. Click the desired Device pane then click Check for Update.
Note: If your device is on the current software version, click OK. If an update is available, click Update and follow the prompts. If you don't have enough free space to update using Finder, you'll need to delete content manually from your device. Find out what to do if you get other error messages while updating your device.
