")
In this tutorial, you will learn how to:
• Connect devices to Wi-Fi
• Activate Screen Projecting
• Turn off Screen Projecting
• Activate Screen Projecting
• Turn off Screen Projecting
Connect devices to Wi-Fi
In order to project your screen to another device, both devices need to be connected to the same Wi-Fi network.
1. Swipe down from the Notification bar, then select and hold the  Wi-Fi icon.
2. Select the Wi-Fi switch to turn Wi-Fi on, then select the desired Wi-Fi network.
Note: If necessary, enter the Password then select Connect. If you need futher assistance connecting to Wi-Fi, visit the Wi-Fi tutorial.
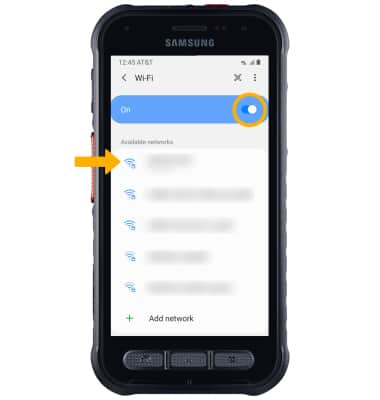
Note: If necessary, enter the Password then select Connect. If you need futher assistance connecting to Wi-Fi, visit the Wi-Fi tutorial.
Activate Screen Projecting
1. Swipe down from the Notification bar with two fingers, swipe left then select Smart View.
Note: If it is your first time accessing Smart View, review the Smart View prompt, then select Next. Review the Smart View Permissions prompt, then select Continue.
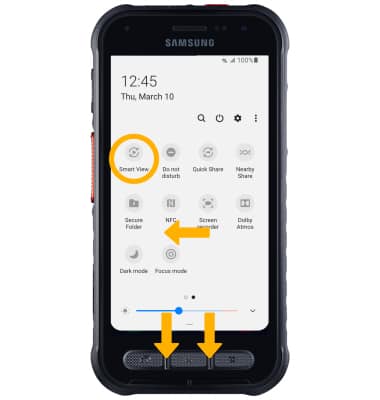
Note: If it is your first time accessing Smart View, review the Smart View prompt, then select Next. Review the Smart View Permissions prompt, then select Continue.
2. Select the desired device, then select Start now.
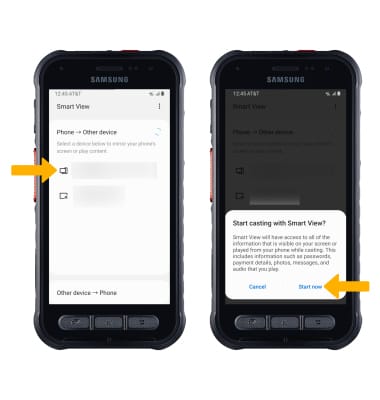
3. When Casting your screen, the  Cast icon will be displayed at the top of the Quick Settings screen.
Turn off Screen Projecting
From the home screen, select the  Smart view icon then select Disconnect.
Note: Alternately, you can turn off Screen projecting through Quick Settings. Swipe down from the Notification bar with two fingers > swipe left > select Smart View. The device will disconnect.
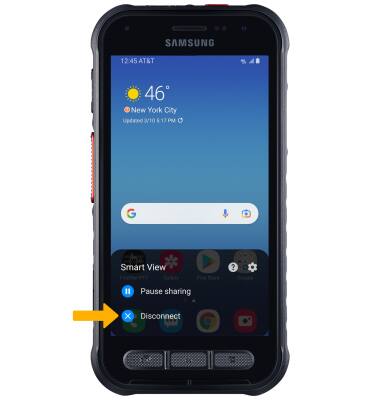
Note: Alternately, you can turn off Screen projecting through Quick Settings. Swipe down from the Notification bar with two fingers > swipe left > select Smart View. The device will disconnect.