")
Capture+ allows you to capture screenshots, create memos, edit memos, save memos, change memo background, write or draw on almost every screen, and schedule memos to appear at certain times.
In this tutorial, you will learn how to:
In this tutorial, you will learn how to:
• Access Capture+
• Create and edit a memo
• Change memo background
• Save a memo
• Share a memo
• Schedule a memo
• Create and edit a memo
• Change memo background
• Save a memo
• Share a memo
• Schedule a memo
Access Capture+
Swipe down from the Notification bar, then select the Capture+ icon.
Note: Alternately, to access Capture+ while the screen is off, press the volume up button twice.
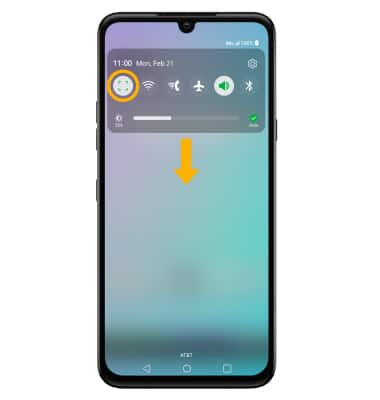
Note: Alternately, to access Capture+ while the screen is off, press the volume up button twice.
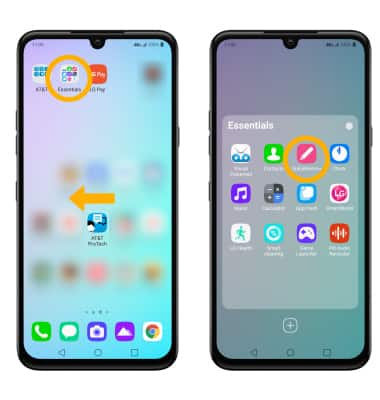
Create and edit a memo
1. From the home screen, swipe left then select the Essentials folder. Select the QuickMemo+ app.
Note: Review the terms and conditions, then select Agree. Select the desired Google account you wish to sync your memos to.
Note: Review the terms and conditions, then select Agree. Select the desired Google account you wish to sync your memos to.
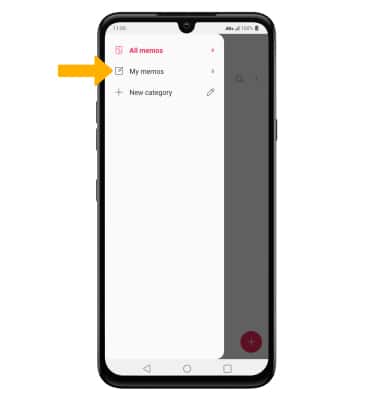
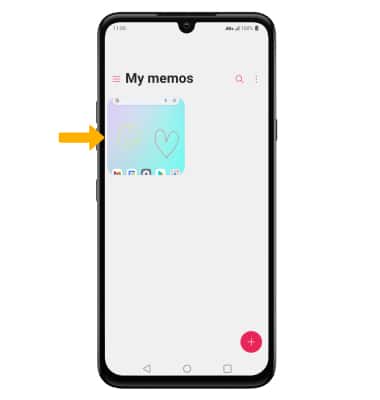
2. Select the  Menu icon, then select the category, such as My memos.
3. Select the  Add icon to create a new memo.
4. To add an image to the memo, select the Menu icon > Insert > Image.
4. To add an image to the memo, select the
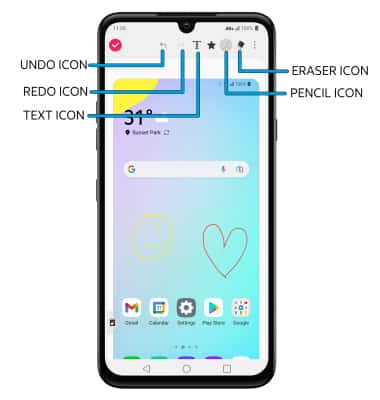
• UNDO AN ACTION: To undo an action, select the Undo icon.
• REDO AN ACTION: To redo an action, select the Redo icon.
• DRAW: To draw on the screen, select the Pencil icon. Double-tap the Pencil icon to customize the pencil.
• ADD TEXT: To add text, select the Text icon.
• ERASE: To erase unwanted writing, select the Eraser icon. Double-tap the Eraser icon to customize the eraser.
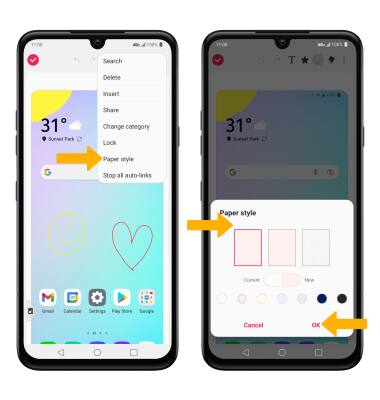
Change memo background
Select the Menu icon, then select Paper style to write on a blank screen instead of a screenshot. Select the desired background color, then select OK.
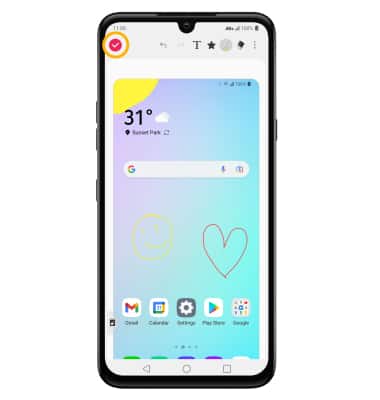
Save a memo
Select the Checkmark icon.
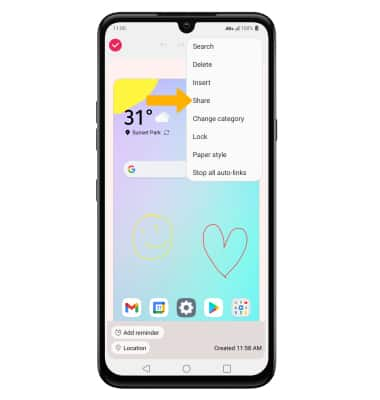
Share a memo
Select the Menu icon, then select Share. Follow the prompts to share.
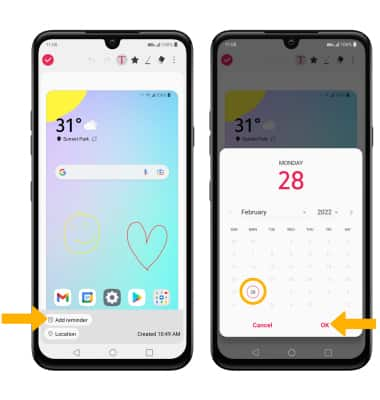
Schedule a memo
3. Select the desired memo.
4. Select Add reminder > Time > desired date > OK > desired time > OK.