Screen Projecting
Which device do you want help with?
Screen Projecting
Project photos, videos, and media on your device to another device (TV, tablet, computer, etc.).
INSTRUCTIONS & INFO
- To screen project your device to an external display, you can do so via wireless or USB cable.
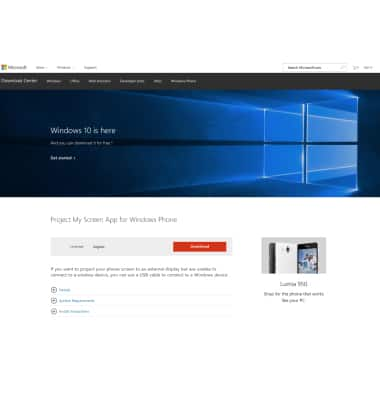
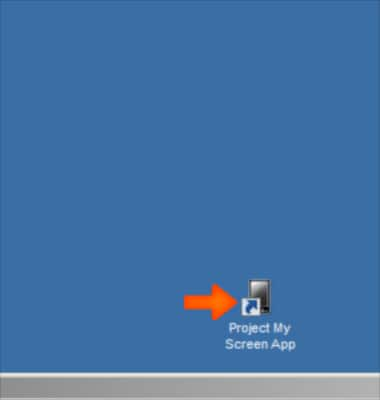
- To project your phone screen with a USB connection, you’ll need to download and install the Project My Screen app on your Windows device (a Windows PC, laptop, or select tablet).
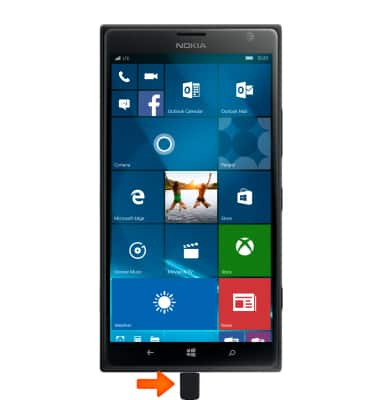
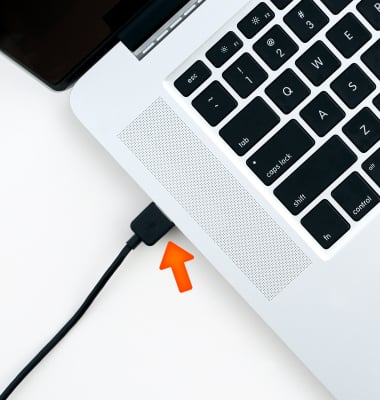
- Once Project My Screen app is installed, plug the USB cable connected from the device to your Windows device.
- Start the Project My Screen app on your Windows device.
- On your phone, tap yes when prompted to allow screen projection.
Note: You cannot use a USB connection to project content that is protected by Digital Rights Management (DRM) – for example, Xbox Video. Projecting your phone screen with a USB connection is video only.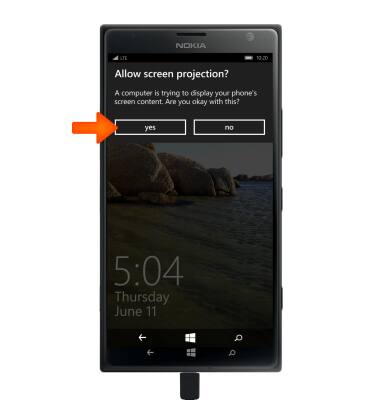
- The device is now connected to the external screen.
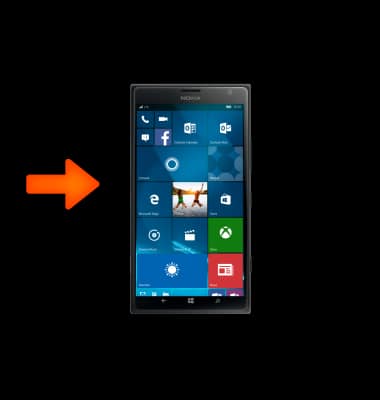
- To wirelessly connect your device to an external screen, you must have Wi-Fi turned on. To turn Wi-Fi on from the Start screen, swipe down from the Notification bar, then tap Wi-Fi.
Note: If Wi-Fi does not automatically connect, tap and hold Wi-Fi to access Wi-Fi settings, then tap the Desired Wi-Fi network and enter password to connect.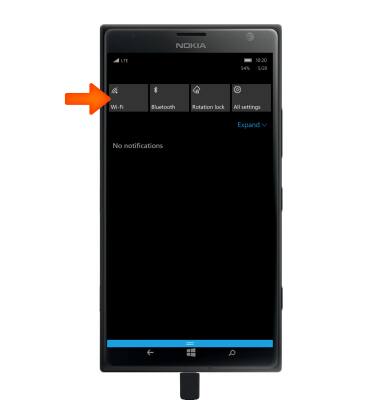
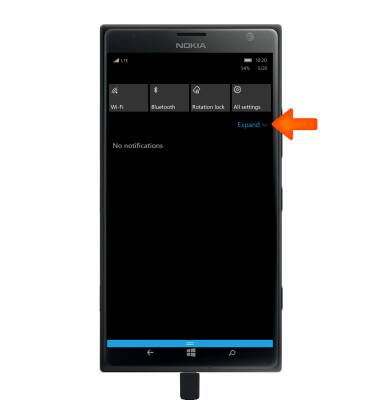
- To open Screen Projection on the phone, swipe down from the Notification bar and tap Expand.
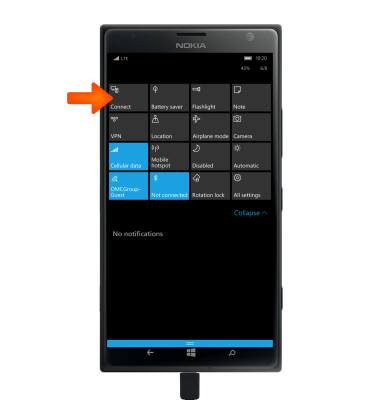
- Tap Connect.
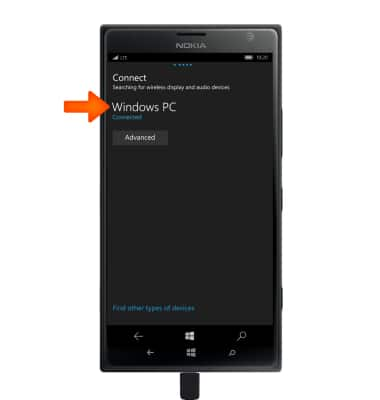
- The device will automatically search for external devices capable of projecting the screen. Tap on the Desired device to connect.
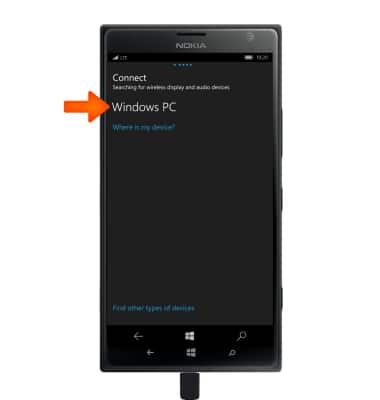
- The device is connected. To disconnect, simply tap the Desired device to disable Project My Screen to the external device.
Note: For more information, see the Window Phone support article: Project my phone screen to a TV or PC