")

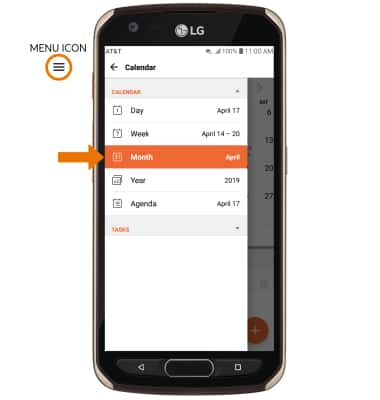
2. CHANGE VIEW MODE: Select the Menu icon, then select the desired option.
Note: For this demonstration, Month was selected.
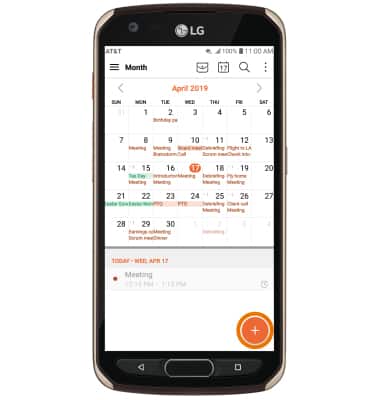
3. CREATE AN EVENT: Select the Add icon.
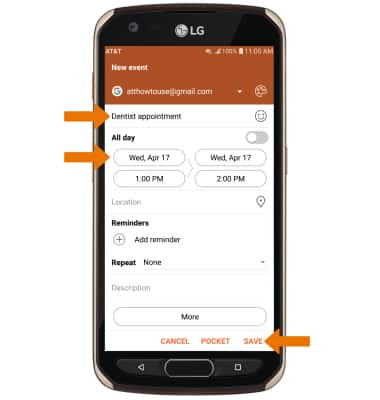
4. Edit the desired information, then select SAVE.
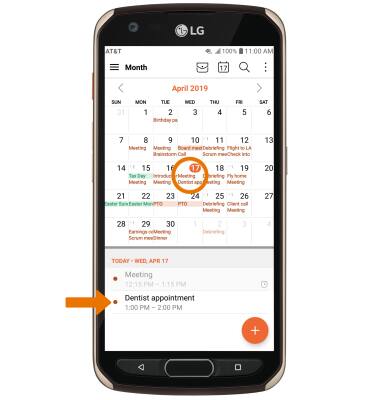
5. VIEW EVENT INFORMATION: From the Calendar screen, select the desired date then select the desired event.
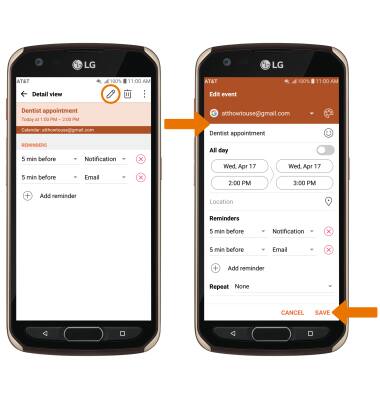
6. EDIT AN EVENT: From the desired event screen, select the Edit icon. Edit the desired information, then select SAVE.
Note: You will only be allowed to edit events you have created.
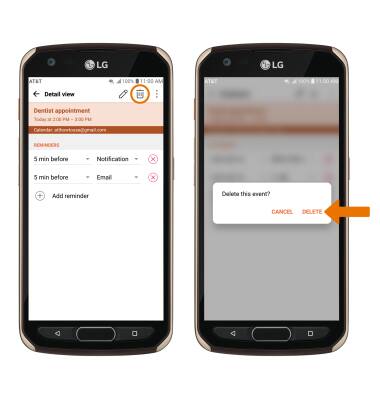
7. DELETE AN EVENT: From the desired event screen, select the Delete icon. Select DELETE to confirm.
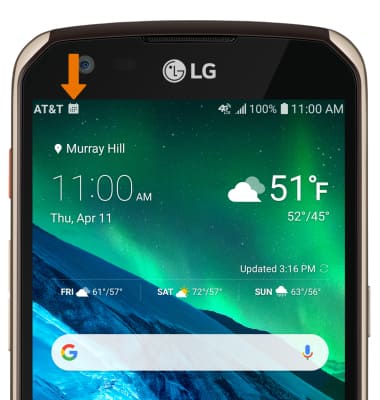
8. When there is an upcoming event, the Calendar icon will be displayed in the Notification bar.