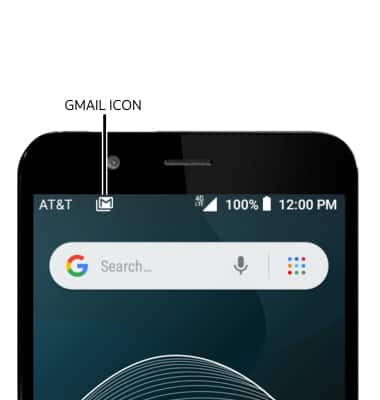
- When a new Gmail message is received, the Gmail icon will display in the Notification bar.
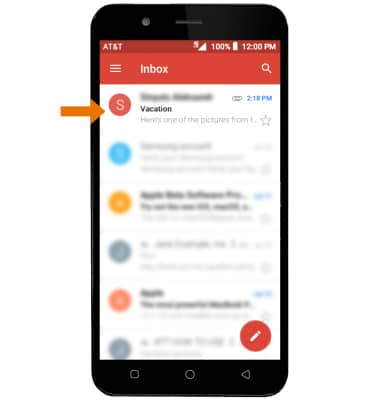
- ACCESS & VIEW RECEIVED EMAILS: From the home screen, select the Gmail app.
Note: The Email application is the Gmail app, but you may use any account type. In order to send and receive email, you must have already set up an email account.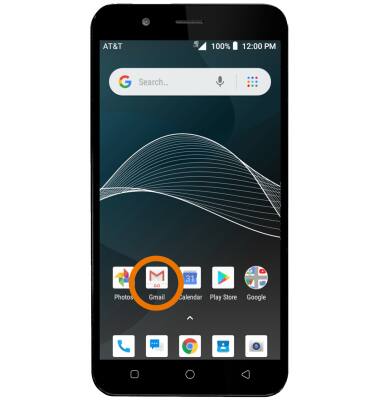
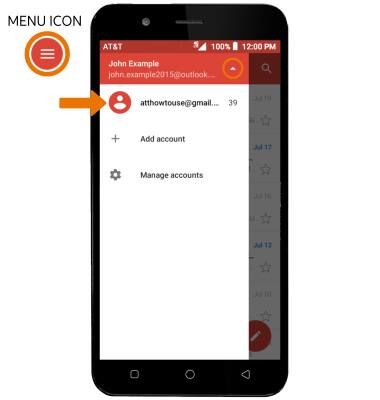
- If you have multiple email accounts on the device, select the Menu icon > drop down icon > desired email account inbox.
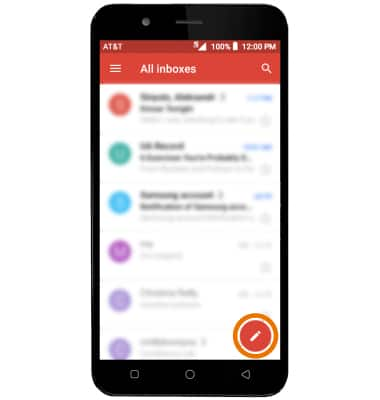
- COMPOSE AN EMAIL: From the inbox, select the Compose icon.
- Enter the recipient(s) email address, then enter the desired subject and message.
You can also select the Drop down icon in the sender field to change the sending inbox.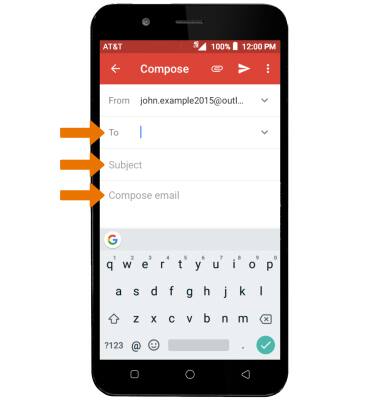
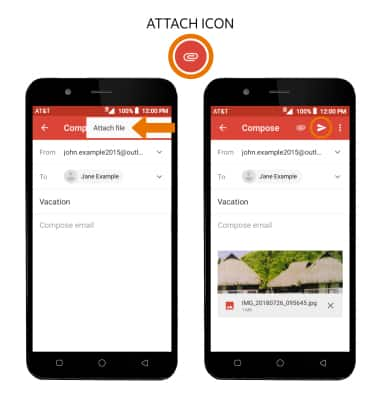
- ADD AN ATTACHMENT: Select the Attach icon, then select Attach file and follow the prompts. When finished, select the Send icon.
- REFRESH THE INBOX: Swipe down from the center of the screen.
Note: When in Easy mode, you can't see the last time the inbox was updated.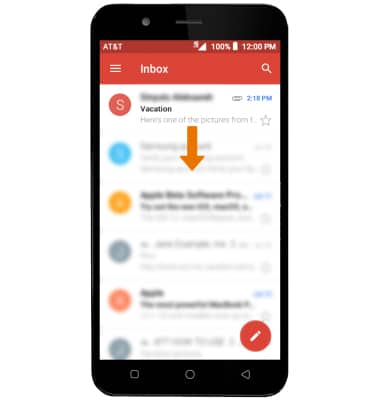
- VIEW AN EMAIL: Select the desired email.
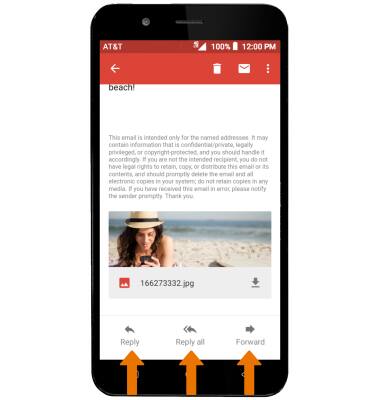
- REPLY, REPLY ALL, OR FORWARD AN EMAIL: Select the desired option.
- VIEW/SAVE AN ATTACHMENT: Select the desired attachment to view. Select the Menu icon, then select Save to save the attachment.
Note: By default attachments will be saved to the Download folder. To view saved attachments, from the home screen select the Photos app > Albums tab > Download.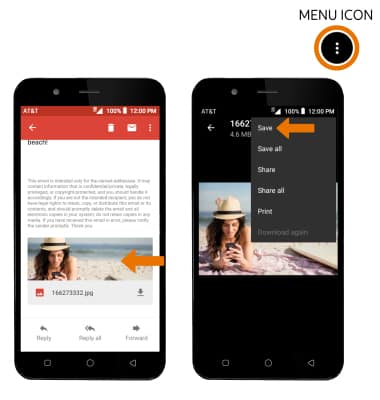
- DELETE AN EMAIL: Select and hold the desired message, then select the Delete icon.
Note: Alternately, from the desired email select the Delete icon.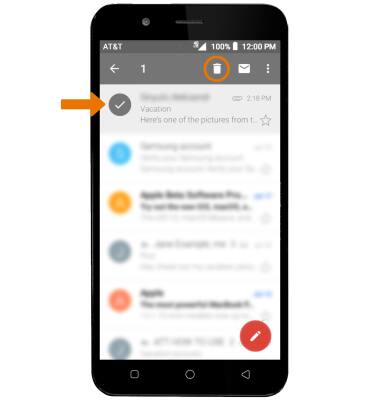
Send & Receive Email
AT&T AXIA (QS5509A)
Send & Receive Email
Add and download email attachments, respond to an email and more.
INSTRUCTIONS & INFO
