Advanced Photo Editing
Learn how to access and use AI features to edit your photos.
In this tutorial, you will learn how to:
• Access AI editing features
• Use Magic Eraser
• Use Photo Magic Editor
• Use Photo Unblur
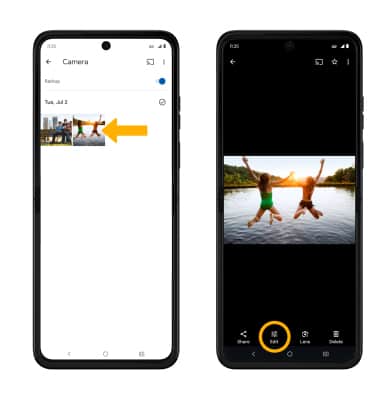
Access AI editing features
1. From the home screen, select the ![]() Google Photos app.
Google Photos app.
2. Navigate to and select the desired image to edit, then select the Edit icon.
Use Magic eraser
1. While editing a photo, on the bottom of the screen swipe left to Tools, then select Magic eraser.
2. Brush or circle any area on the image to erase.
3. While editing with the magic eraser tool, select the desired option. When finished editing, select Done.
• RESET: Select Reset to revert the image back to its original state.
• UNDO: Select the Undo icon.
• REDO: Select the Redo icon.
Use Magic editor
1. While editing a photo, select the Magic editor icon. Select the Magic editor icon again to generate
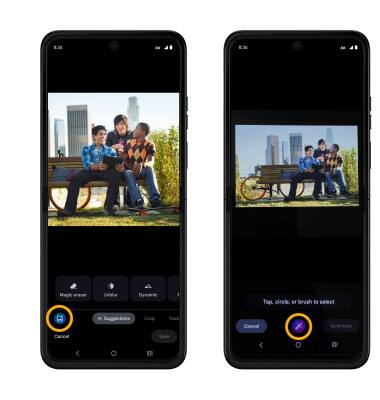
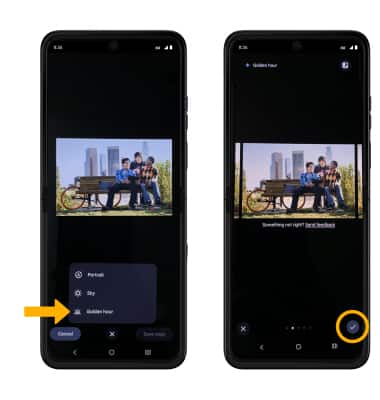
2. Select the desired suggestion to edit, then select the Checkmark icon.
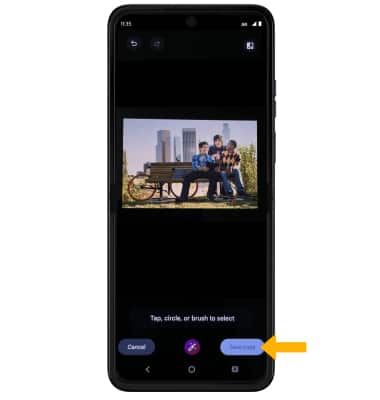
3. When you are finished editing, select Save copy.
Use Photo Unblur
1. While editing a photo, on the bottom of the screen swipe left to Tools, then select Unblur.

2. Swipe left or right to adjust effect strength as desired. When finished editing, select Done.
