Connect WPS Devices
Learn how to connect WPS devices.
In this tutorial, you will learn how to:
• Connect to a WPS device
Connect to a WPS device
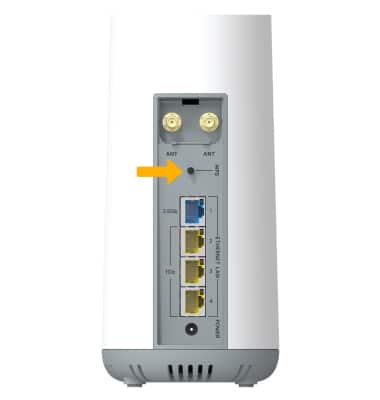
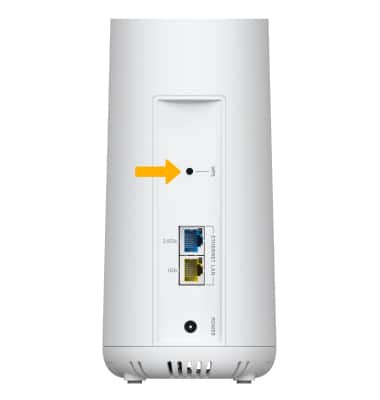
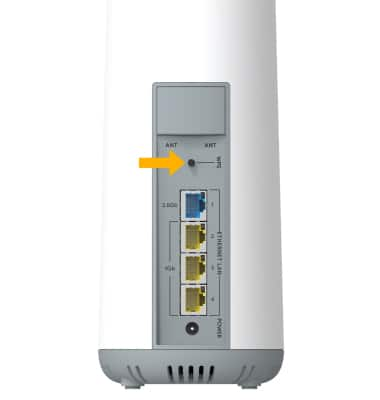
1. To connect to a WPS device, press and hold the WPS button on the back of the 5G Gateway until the Wi-Fi LED light flashes blue.
2. To start the WPS connection, ensure that Wireless is enabled on your connected device.
Note: For this demonstration, a printer has been chosen to show the WPS connection process.
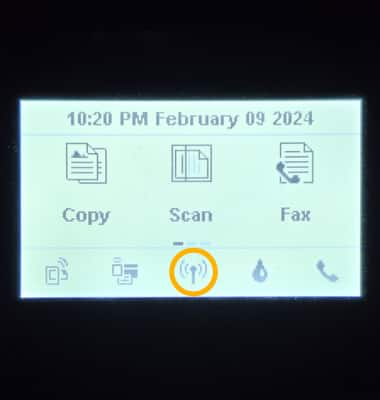
3. On your printer, select the Wireless icon, or Wireless button if available.
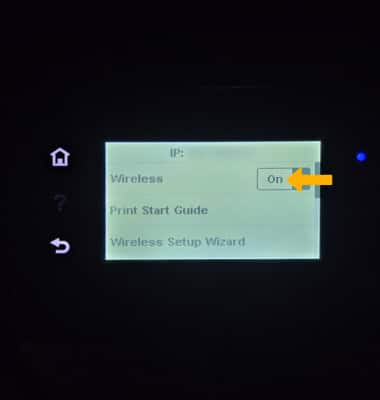
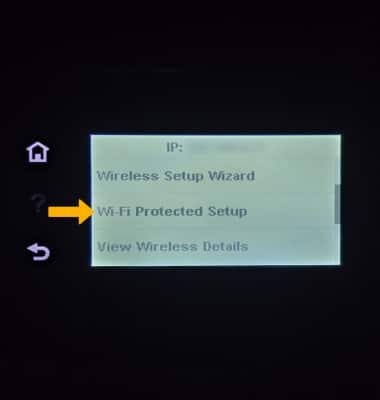
4. Select the ![]() Settings icon. Navigate to and select Wi-Fi Protected Setup.
Settings icon. Navigate to and select Wi-Fi Protected Setup.
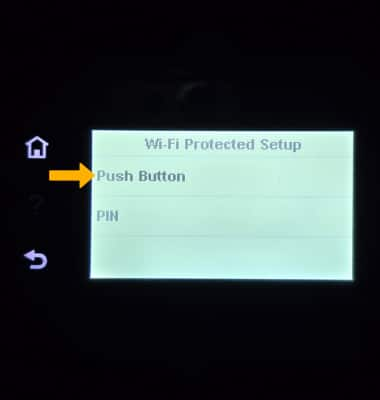
5. Select Push Button.
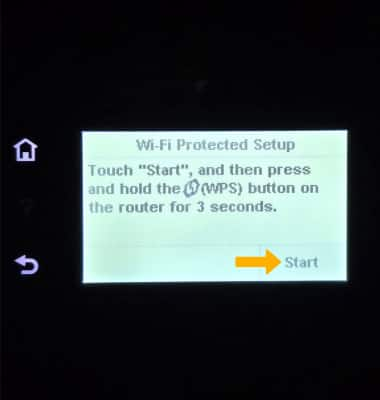
6. Select Start. The devices will take a moment to establish a connection.
Enable WPS from management website
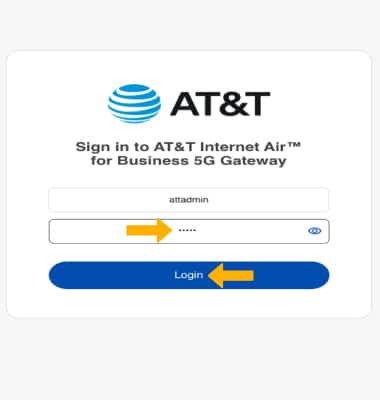
1. From your connected device's web browser, go to http://attwifi.manager or https://192.168.1.1. Enter your password, then click Login.
Note: Ensure that your device is connected to the 5G Gateway's Wi-Fi network. For more information, please see the Connect Devices to Wi-Fi or Connect PC or Mac to Wi-Fi tutorials. If you haven’t logged into the Web admin page before, the default password will be ‘admin’. You may be prompted to change the admin password.
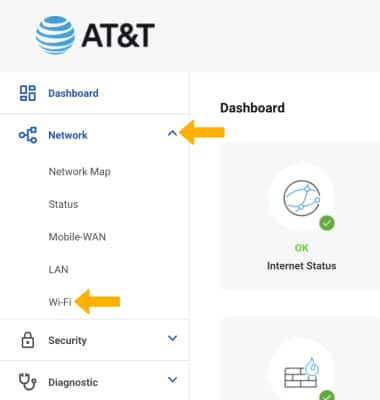
2. Click the Network drop-down menu on the left side of the screen, then click Wi-Fi.
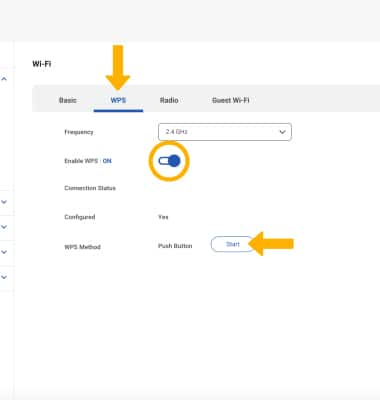
3. Click the WPS tab. Ensure the WPS is togged 'ON' then click Start next to Push Button.
Pair an extender with your AT&T 5G Gateway
